For this recipe you need:
Brussel sprouts- about 30
Anaheim pepper (can substitute any kind of pepper depending on what kind of spice you enjoy)
Bacon
Balsamic Vinegar
Parmesian Cheese
Large pan with lid.
Optional:
Garlic
Onion
Mushrooms
Dog
 |
| Pepper in Little Itty Bitty Pieces |
 |
| Pepper |
First things first, cut up your veggies. I only had a pepper, garlic and some brussel sprouts this time around. When I make them I tend to get too excited and I get the pan hot before I'm ready with all the veggies. That's what I did today. Best idea is to cut all your veggies and have them ready. So, I cut up the the pepper first. I cut the top off, cut it in half, then scooped out all of the seeds and the flesh. That's where all the heat lies. I was afraid that it was going to be too hot. After tasting at the end I realized that I should have left some of the insides in for a little more heat. But, we like it hot, if you don't, scoop it all out. I proceeded to cut it up into little pieces. Put it off to the side for later.
 |
| Sprouts Ready for Cutting |
 |
| Cut the end off |
Now for the brussel sprouts. Get 'em ready. Here's one on the left, in all of its ready to be cut and prepped glory. Then cut off the end, where all of the leaves meet. See what I mean in the picture to the right. Try not to cut too high, you want the inside leaves to stay together. If this is your first go, you'll probably want to cut a little bit off, then cut more off if you still need to. The worst is when you cut off too much and the whole damn thing falls apart.
 |
| Pull off Outer Leaves |
 |
| Cut into Quarters |
Next, pull off the outside leaves. I keep going until I am satisfied that all the leaves that have been exposed to the air are gone. Sometimes you see brown spots. I keep going until all of that stuff is gone. You end up with much less brussel sprout than you started off with. Discard the outside leaves. As far as I know, they're no good. Leave a comment below if you know differently.
After you are satisfied with your brussel size and color. Now cut them into quarters. I find that this is the best size for this particular recipe.
 |
| Garlic with Skin On |
 |
| Squish it Hard |
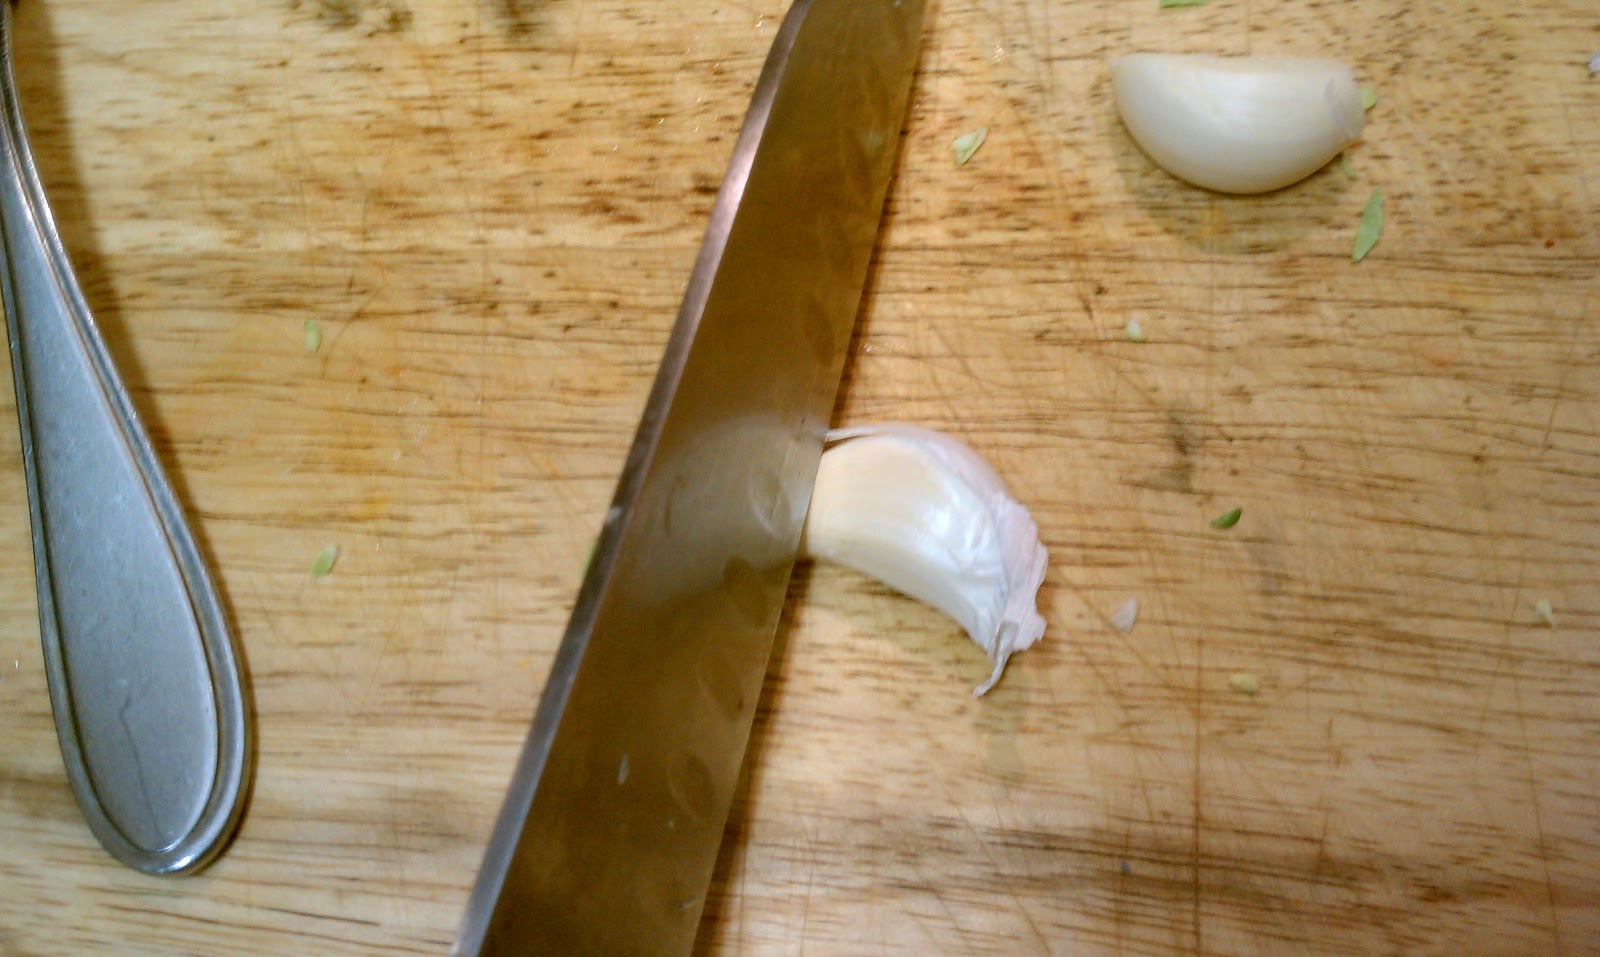
Next, the garlic. Here they are. I used two, but if you want to have a stronger garlic flavor, go for more. The garlic flavor was not very noticeable with just the two, you get just a hint.
I first squish the garlic with my favorite big knife to loosen the skin on the outside. It makes it easier to mess around with them.
Then I cut off the top where the clove was connected to the rest of the plant.
 |
| Garlic |
 |
| Garlic. In Pieces. |
I don't have a picture of it, but I assume you can figure this part out on your own. There is a skin on your garlic clove that is loose after squishing it. Pull that off now. Then cut it into small pieces.
 |
| Raw Bacon in Pan |
Okay, so now you're ready for the cooking part. If you're a really quick veggie chopper you can do this step earlier, but if you're new to this, (or if you have been drinking) do all your veggies first before putting your bacon in the pan. I usually put the bacon in a cool pan, then turn it to medium.
There's only two slices of bacon in the pan in the picture, but I would go for three or even up to five. Honestly, the more bacon the better. If you don't need any bacon for breakfast in the morning, go ahead and put in the whole package. When the bacon is mostly cooked to your liking, pull it out and leave just enough bacon grease in the pan to saute your veggies in. That's only a few tablespoons. If you've taken my advice and put in the whole package of bacon, pour your bacon grease into a small cup and put it in the fridge and cook your eggs in there in the morning. Yum!
 |
| Keep a dog in the Kitchen. |
Go ahead and throw in your brussel sprouts and your hot peppers. **Careful!! It will sizzle at you!! Make sure when you put them in, your face is nowhere near your pan. My advice is to wield the lid of your pan like a medieval shield and throw your veggies in gently while covering your face. I do not have a picture of this.**
 |
| Grate the cheese! |
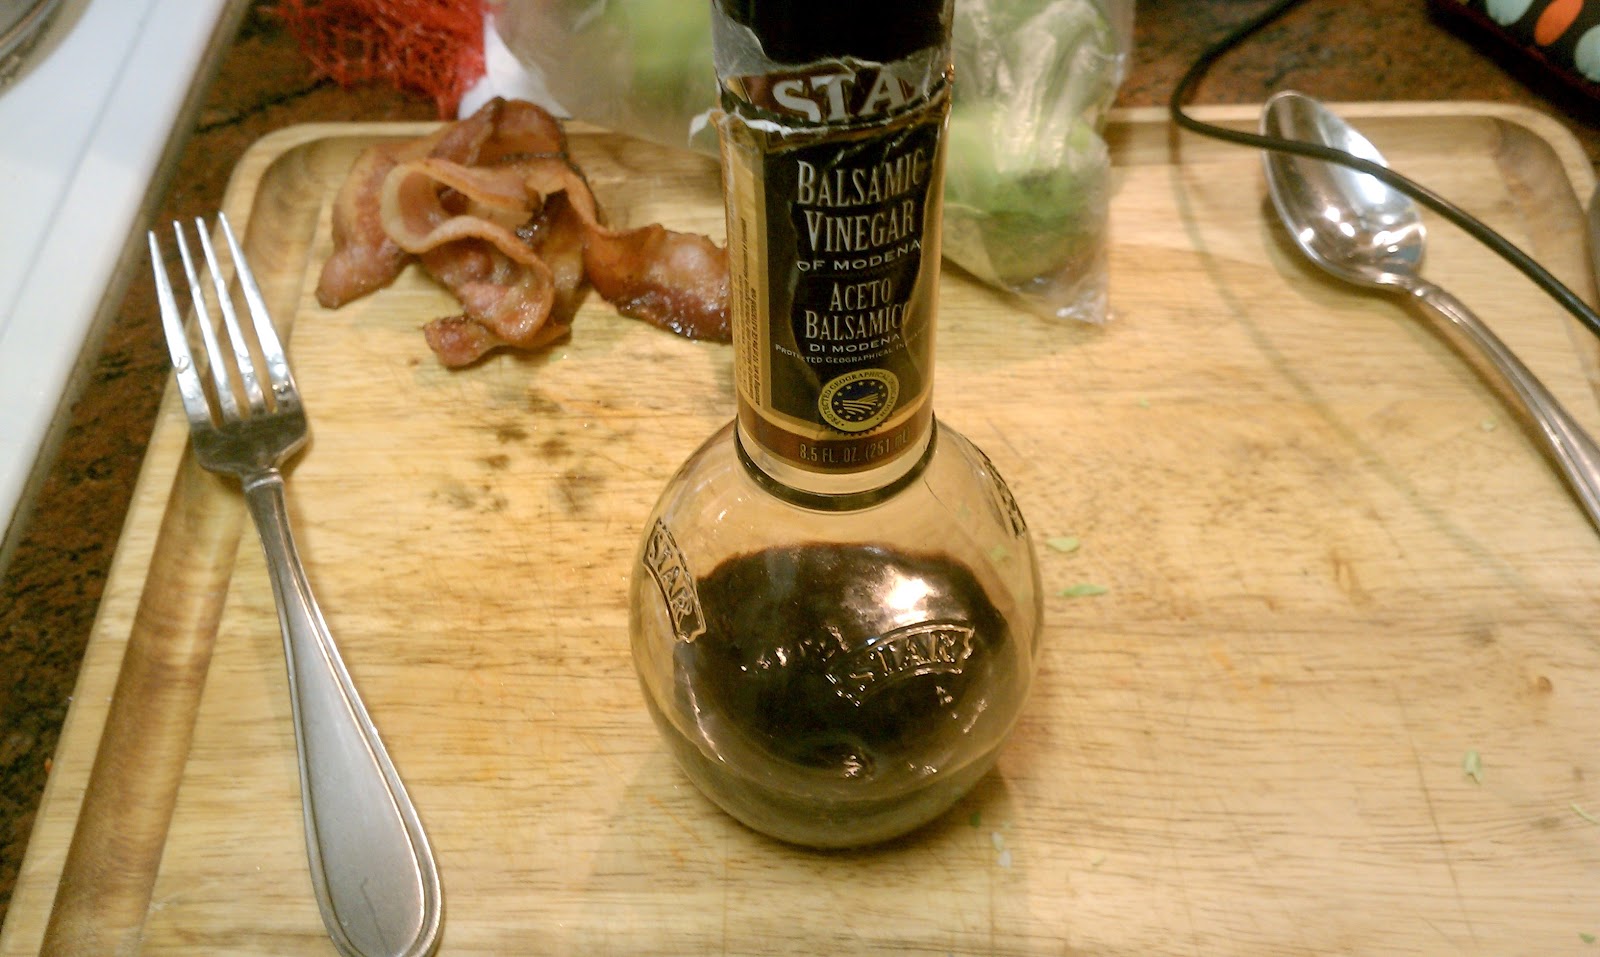
If you have decided to put anything else in there that might want to cook longer, like carrots, you'll want to add those now, too. This is when my dog, Gizmo, usually rushes into the kitchen, because he smells the bacon cooking. He stands next to the stove and licks the floor where any of the grease has escaped. Cover your pan and set your timer for 3 minutes. While you wait you can cut up your bacon into smaller chunks. Don't worry, the bacon will go back in later. This is also a good time to start slicing and dicing your Parmesan cheese. Have your balsamic vinegar nearby.
 |
| Balsamic Vinegar |
 |
| Bacon in Yummy Pieces |
When your timer goes off, either do that fancy thing that chefs do: with the lid on whip your pan through the air and flip over your brussel sprouts. If you don't know how to do this and are not ready to try, just get a spatula, open the lid and flip everything over. Toss in anything that you just want to cook a little bit. In this case, the garlic and the bacon. Close the lid and set the timer for another 2-3 minutes.
 |
| Cheese on veggies. |
 |
| Add Bacon |
When the timer goes off again, open the lid, move stuff around, put the heat on low and then pour the balsamic vinegar into the pan. This is called deglazing your pan. You have now just learned an awesome word. Go show off to your friends. I don't know how much vinegar. Maybe two tablespoons? I just pour enough that it goes all over my goodies, and also covers the entire pan bottom. Again, keep your face away from the pan, this time because the vinegar will release it's vinegar vapors into the air and although I love the taste of vinegar, it is horrible when a whole boatload of the steam it releases goes directly into your nostrils. Leave this for a minute, and give your doggie pieces of cheese as you wait. Then add the Parmesan cheese. I pushed all the veggies to the side of my pan so I could concentrate the cheese on the veggies. Cover your pan and leave it be. Peak at it until your cheese is perfectly melted. You are done and can now eat your delicious dish!
 |
| Cheese is Melted, Yum! |
 |
| I added some Cheddar on one Side at the End |
 |
| Scrape it out with Spatula and Serve |
 |
| Put all Pots and Pans in the Sink and Wait for Someone Else to do Them |
 |
| Add Meat to Your Plate. Meat is Delicious. |


No comments:
Post a Comment